
Message Groups allow you to create custom messaging for different scenarios and teams. This gives you greater control over the invites your team sends to candidates.
NOTE: If you do not see this option, you do not have the permissions to do so. Please contact your admin or service@qualifi.hr for assistance.
Create a new Messaging Group in Qualifi
-
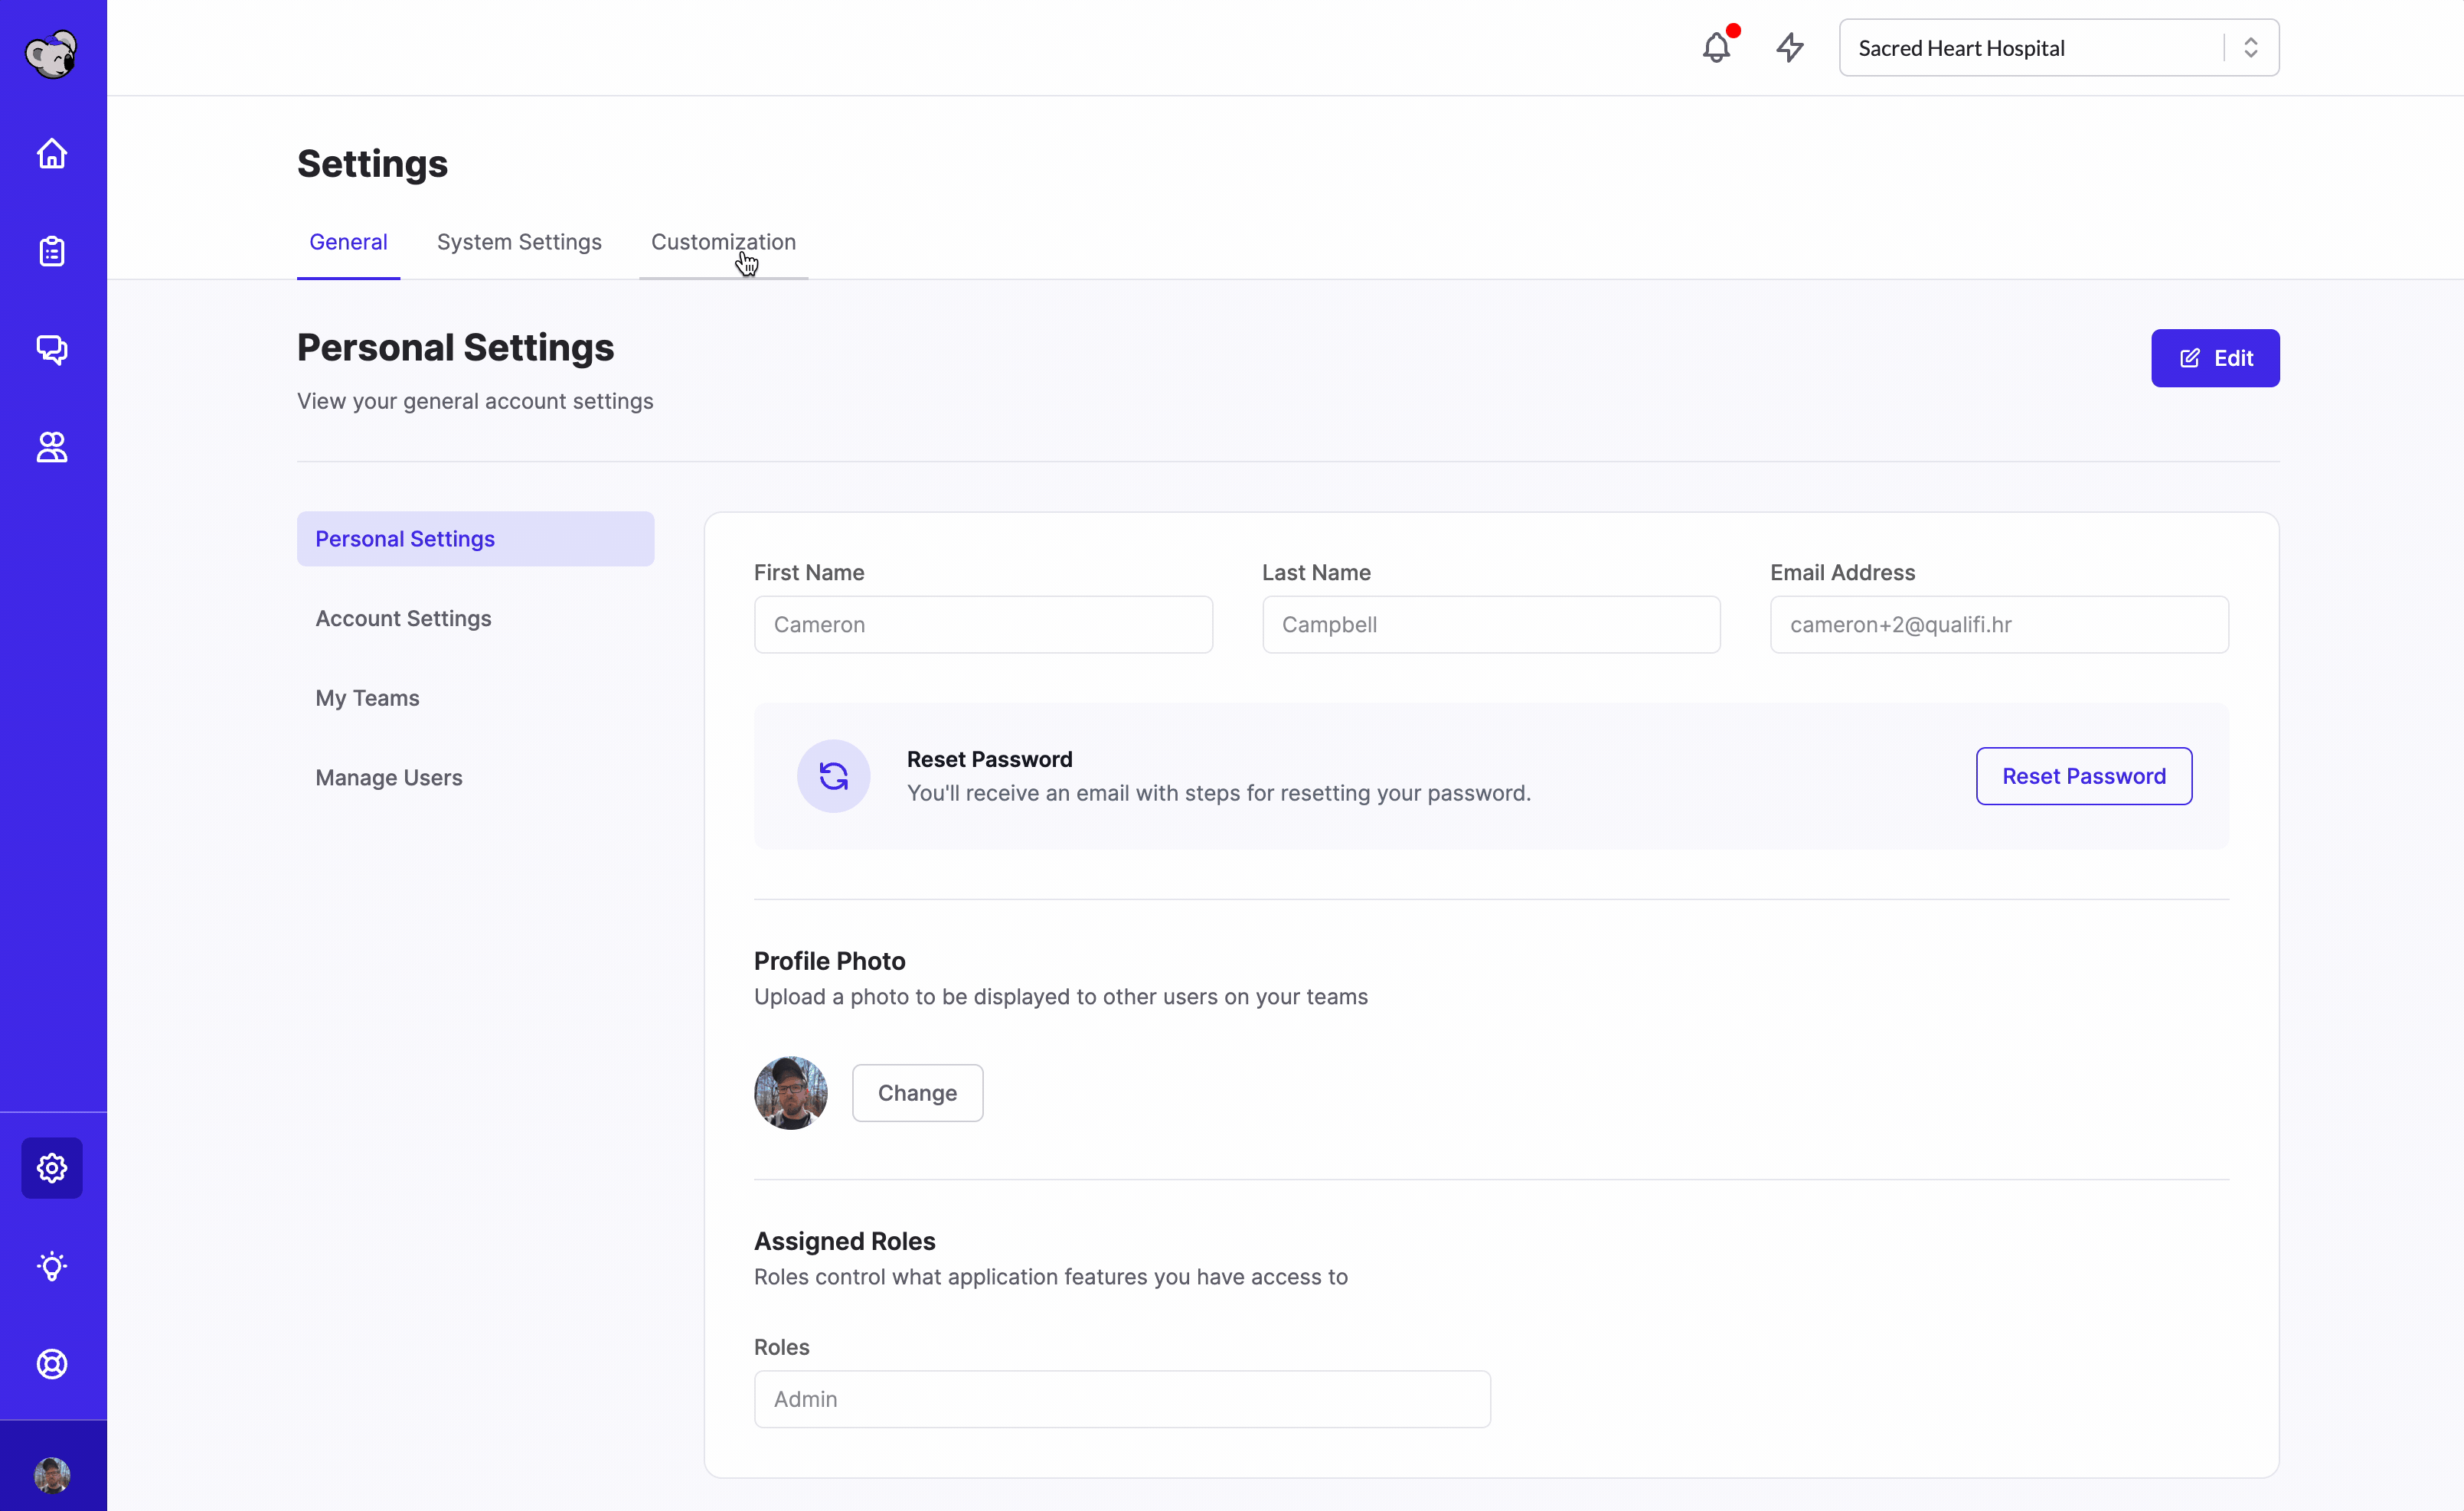
Open the settings menu and navigate to the Customization tab.
-
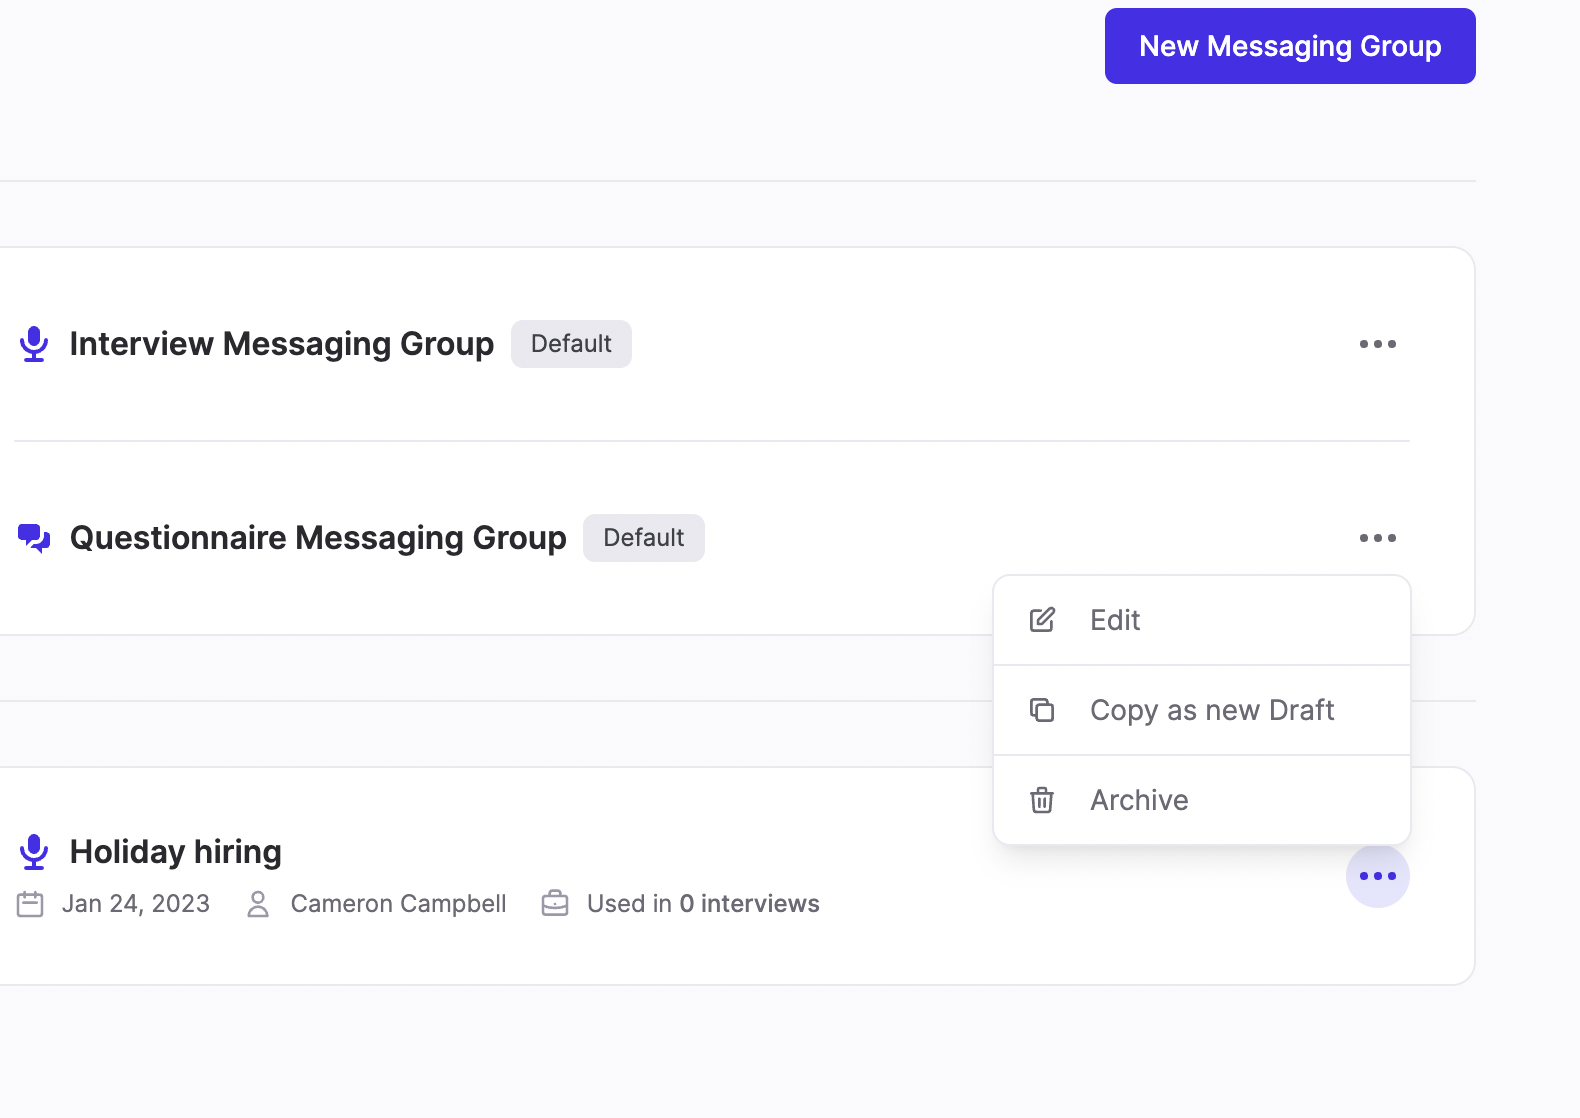
Click on the “Messaging Groups” tab
-
Click on the "New Messaging Group" button.
-
Enter a name for the group, such as "Holiday Hiring", and select whether it's for an interview or questionnaire.
-
Click "Continue" to proceed to the next step.
-
In the Invite Messaging section, you can customize the wording of the SMS and email invites that will be sent to candidates. You can also toggle off one of the delivery channels if you only want to use SMS or email.
-
When you're finished customizing the messaging, click "Publish" to save the Message Group.
Edit or delete an existing Message Group
-
Open the settings menu and navigate to the Customization tab.
-
Click on the “Messaging Groups” tab.
-
Scroll down to the Custom Messaging section and click on the Message Group you want to edit (or click the 3 dots to Archive the group).
-
Make any changes to the group's settings, such as the wording of the SMS and email invites.
-
If you want to delete the Message Group, click the "Delete" button.
-
Remember to click "Publish" to save any changes you make.
When you create a new interview or questionnaire, you will now be able to select from your default messaging as well as your new Messaging Group when inviting candidates.
If you have any questions, reach out to service@qualifi.hr for assistance.